§ How-To
How to Measure a Chainsaw Guide Bar
The four numbers that decide fit — bar length, pitch, gauge, and drive-link count — and exactly how to read each one off your saw.
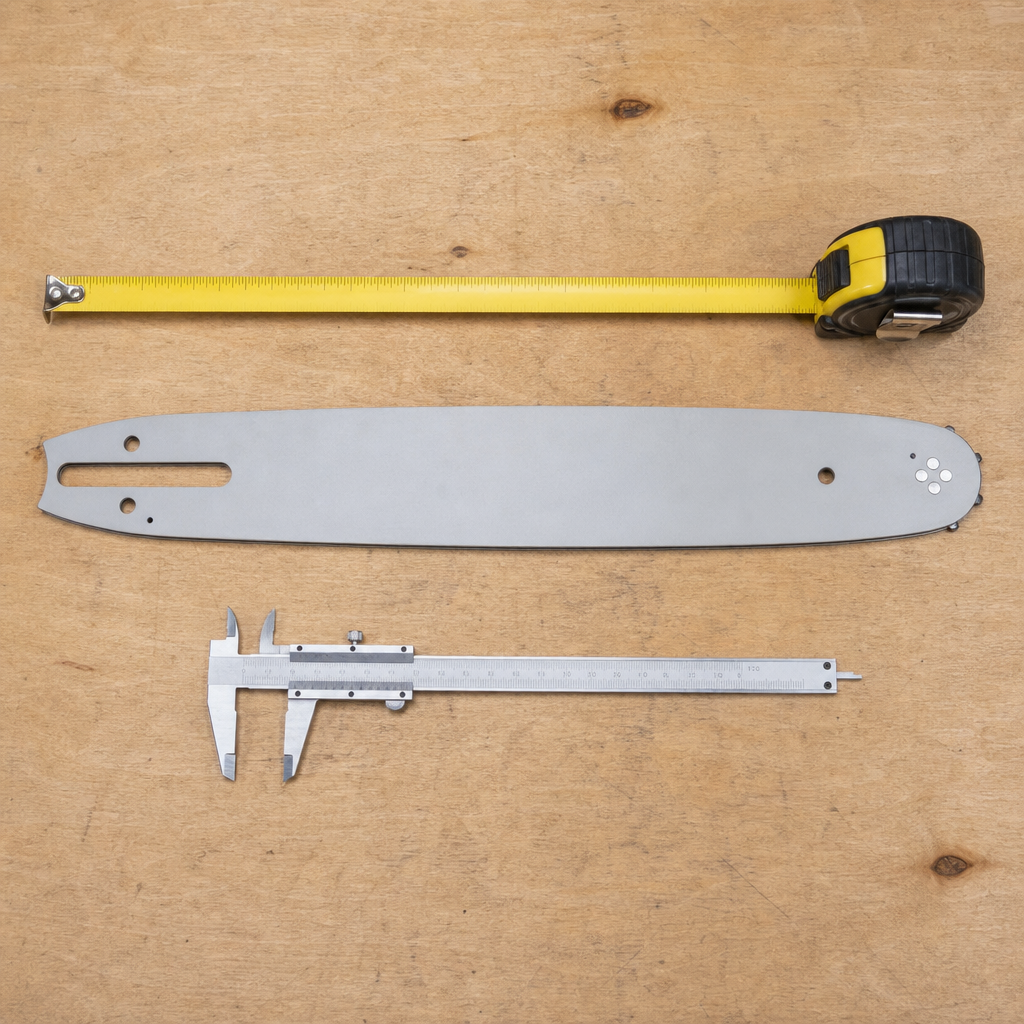
Ordering the wrong guide bar is almost always the result of guessing instead of measuring. A bar that’s the right length but the wrong pitch or gauge will not run on your saw — and a chain that doesn’t match the bar will either flop out of the groove or refuse to seat at all. The good news: every chainsaw bar and chain in the world is described by the same four numbers. Get all four and the match is exact, every time.
This guide walks through each measurement, how to take it with tools you already own, and how to combine them into the spec you punch into a search box.
1. Cutting length (the “size” everyone quotes)
When a saw is sold as a “16-inch” or “20-inch” saw, that number is the cutting length (also called the effective or called length) — not the full physical length of the bar.
To measure it:
- With the saw off and the chain still on, pull a tape from the very tip of the bar back to the point where the bar disappears into the saw body (the front edge of the housing).
- Round up to the nearest even inch. A bar that measures 15.5” is a 16” bar; 19.25” is a 20” bar.
That rounded, even number is what sellers list. Don’t measure the whole bar including the part buried in the powerhead — you’ll over-size it.
2. Pitch — the spacing of the chain
Pitch is the distance between any three consecutive rivets on the chain, divided by two. It describes how big the chain is and, critically, it must match the drive sprocket inside your saw.
The common pitches:
| Pitch | Typical use |
|---|---|
| 1/4” | Carving bars, small specialty saws |
| 3/8” Low Profile (LP / Picco) | Homeowner and battery saws |
| .325” | Mid-size gas saws (most 40–50cc) |
| 3/8” (standard) | Larger gas saws, pro use |
| .404” | Large professional / harvester saws |
You usually don’t have to measure pitch with calipers — it’s stamped on the bar and on the chain’s drive links. If you’re replacing a chain only, match the pitch already on the saw. If you’re changing pitch, you must change the sprocket too.
3. Gauge — the thickness that rides in the groove
Gauge is the thickness of the chain’s drive links — the little tangs on the underside that sit down inside the bar’s groove. Bar groove width and chain gauge must be identical.
The four gauges: .043”, .050”, .058”, .063”. To find yours, either read the bar stamp or measure a drive link with calipers (or slip the shank of a drill bit / feeler gauge into the groove). .050" is by far the most common homeowner gauge; if you have no information, it’s the safe first guess to verify.
A chain that’s too thick won’t drop into the groove; one that’s too thin rattles side-to-side and can derail.
4. Drive-link count — how you size the chain
Length, pitch, and gauge size the bar. To size the chain, you also need the drive-link count (DL) — the exact number of drive tangs around the loop.
Count them one by one (mark your starting link with a paint pen). This is the single most reliable chain measurement, because two bars of the same “length” can take chains with different DL counts depending on the nose sprocket. When a listing says 16" 3/8LP .050 56DL, the 56DL is what guarantees the loop fits.
Putting it together
- Buying a bar: length + pitch + gauge.
- Buying a chain: pitch + gauge + drive-link count.
- Buying a bar-and-chain combo: length + pitch + gauge (the combo matches the DL for you).
Every product on this site lists these specs up front, and the Guide Bars and Saw Chains categories let you filter by them directly. If you’d rather not mix and match, a bar-and-chain combo removes the gauge-matching step entirely.
Common mistakes
- Measuring the full bar instead of the cutting length (over-sizes by 1–2”).
- Matching length only and ignoring pitch/gauge — the #1 cause of returns.
- Assuming all 16” bars take the same chain — always confirm the drive-link count.
When in doubt, read the stamp on your old bar — it usually carries the part number and the pitch/gauge. We cover that next in How to Read the Stamp on Your Guide Bar.