§ How-To
How to Install a New Chainsaw Chain (Safely)
Mount the bar, seat the chain the right way around, and set tension correctly — a step-by-step that prevents the mistakes that ruin a new chain.
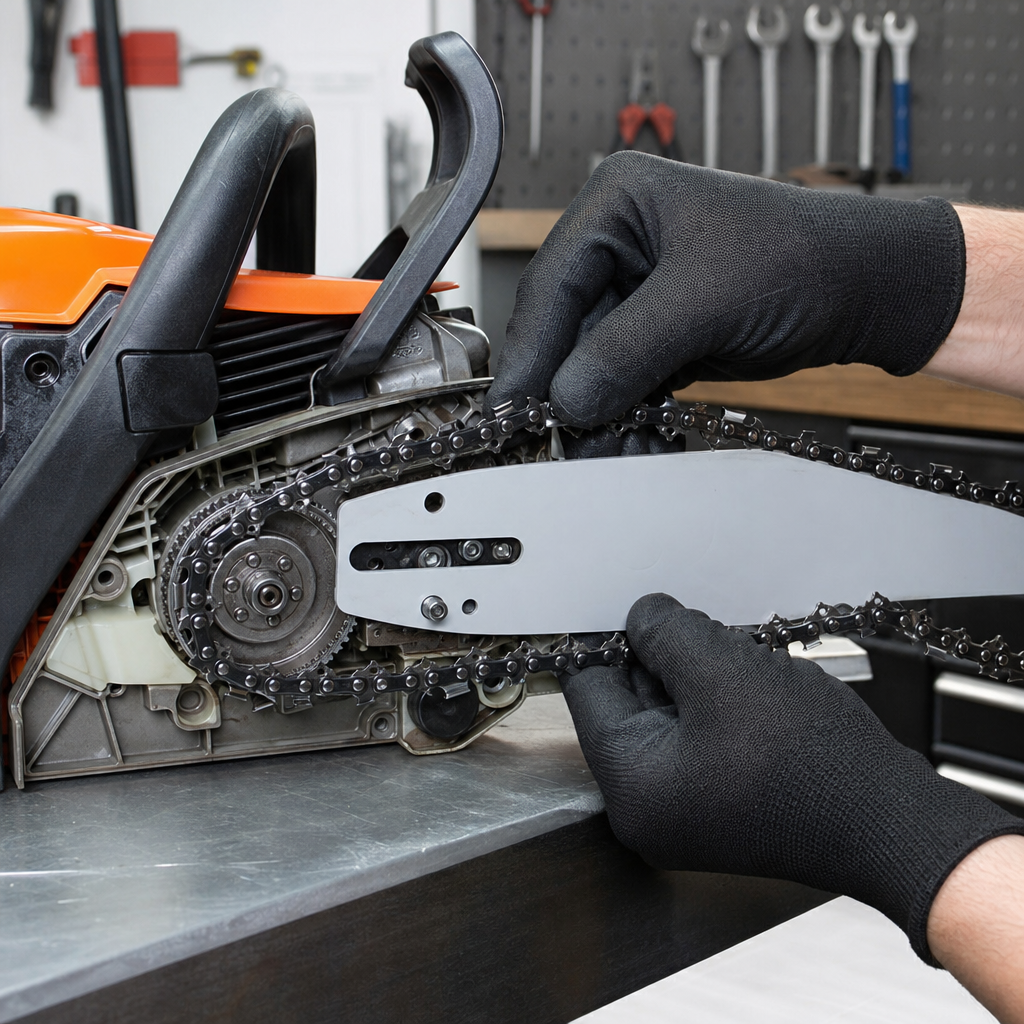
Fitting a new chain is a ten-minute job once you’ve done it, but two mistakes — installing the chain backwards and over-tensioning it — account for most of the “my new chain won’t cut” complaints. This walkthrough gets it right the first time. Work on a stable bench, wear gloves (new cutters are razor-sharp), and remove the battery or unplug the saw before you touch anything.
Tools you’ll need
- The scrench (combination screwdriver/wrench) that came with the saw, or a socket that fits the bar nuts
- Gloves
- Bar-and-chain oil
Step 1 — Remove the side cover
Unscrew the bar nuts and lift off the clutch/side cover. On many saws a tensioning screw inside the cover drives a pin that locates in a hole in the bar — note how it sits. Lift off the old bar and chain together.
Step 2 — Clean and inspect
With everything off, clear packed sawdust from the bar groove and the oil port, and look at the drive sprocket. If its teeth are visibly hooked or grooved, replace it now — a fresh chain on a worn sprocket wears out quickly (how to do that). Flip the bar end-for-end while you’re here; rotating it each chain change evens out the wear.
Step 3 — Seat the chain the right way around
This is the step people get wrong. Drape the chain around the bar. Look at the cutters on the top of the bar — their sharp leading edges must point toward the nose (the far tip). On the bottom of the bar they’ll point back toward the saw; that’s correct. A backwards chain rides but will not cut, and it’s the most common rookie error.
Loop the chain around the drive sprocket first, then feed it into the groove all the way around to the nose.
Step 4 — Refit the bar and tensioner
Slide the bar over the studs and seat the tensioner pin into the bar’s adjustment hole. Hold the nose up slightly and hand-snug the bar nuts — don’t tighten fully yet.
Step 5 — Set the tension
Turn the tensioning screw until the chain is snug against the underside of the bar with no sag, but you can still pull it freely around the bar by gloved hand. The check: lift a drive link at the midpoint of the bar — it should rise slightly but not clear the groove. Then tighten the bar nuts fully while holding the bar nose up.
- Too loose → the chain can jump the bar (dangerous).
- Too tight → it binds, overheats, and stretches.
Step 6 — Oil and break in
New chains stretch. Make a few light cuts, shut down, and re-check tension — it will almost always need a small adjustment after the first session. Confirm the oiler is throwing a line of oil onto the bar before you do real work.
If it still won’t cut
99% of the time it’s a backwards chain or a dull/incorrect chain. Double-check cutter direction, and confirm the chain matches your bar’s pitch and gauge — see How to Measure a Chainsaw Guide Bar.